

Why Proper Bathroom Ventilation is Essential for Your Home
Bathroom exhaust fan installation is one of the most important upgrades you can make to protect your home from moisture damage and create a healthier living environment. In the humid climate of South Florida, poor bathroom ventilation is a fast track to problems like mold, mildew, peeling paint, and warped cabinets—issues that can be costly and difficult to repair. A high-quality exhaust fan is your first line of defense.
A Glimpse at the Installation Process
While we’ll provide a detailed step-by-step guide later, here’s a quick overview of the key stages involved in a successful bathroom exhaust fan installation:
- Calculate the Correct Fan Size: The fan’s power, measured in Cubic Feet per Minute (CFM), must match your bathroom’s size. A fan that’s too weak won’t clear moisture effectively. We’ll show you the simple formula to get this right.
- Prioritize Safety by Turning Off Power: Before any work begins, the electrical circuit supplying the bathroom must be shut off at the main breaker panel. This non-negotiable step prevents the risk of electric shock.
- Precisely Mark and Cut the Ceiling Opening: Using the fan’s template, you’ll mark the ideal location on your ceiling—typically between joists and near the shower. A clean cut is essential for a snug and professional-looking fit.
- Securely Install the Fan Housing: The main body of the fan, or housing, is mounted to the ceiling joists. A secure installation prevents rattling and ensures the fan operates smoothly for years to come.
- Run Insulated Ductwork to the Exterior: This is a critical step. The ductwork carries the moist, stale air from the fan directly outside your home. Using insulated ducts prevents condensation from forming within the ducts themselves, which could lead to water damage in your attic or ceiling.
- Connect the Electrical Wiring: Following local electrical codes and the manufacturer’s instructions, the fan is wired into your home’s electrical system. This may involve connecting to an existing switch or running a new dedicated circuit.
- Attach the Grille and Test Operation: The final step is to attach the decorative grille that covers the fan housing and then restore power to test the fan, ensuring it runs smoothly and quietly.
The benefits go far beyond just removing steam from your mirror. A properly installed exhaust fan is a guardian for your home. It actively removes the excess moisture that can cause insidious mold and mildew growth, a common problem in our local climate. This not only preserves your family’s health by improving indoor air quality but also protects your investment in your home. Think about the damage moisture can do: peeling paint, bubbling wallpaper, and warped wood. If you’ve recently invested in beautiful Custom bathroom cabinetry or a pristine Bathtub replacement Pembroke Pines, an effective exhaust fan is the best insurance policy to keep them looking new.
Modern bathroom fans are rated by two key measurements: CFM (cubic feet per minute) for airflow capacity and sones for noise level. CFM tells you how much air the fan can move, and it’s crucial to match this to your bathroom’s volume for effective ventilation. Sones measure the perceived loudness of the fan; a lower sone rating means a quieter, more pleasant experience. For optimal performance, fans should be installed at the center point between the shower and toilet, with proper venting that exhausts directly outdoors—never into an attic or crawl space where moisture can become trapped and cause catastrophic damage.
Whether you’re tackling a new fan installation in a recently built home or replacing an old, noisy unit that’s failing to do its job, this guide will walk you through each step of the process. From selecting the right fan size for your Broward County home to making the final electrical connections safely, we’ll provide the expert insights you need for a successful project.
Planning Your Project: Selecting the Right Fan and Tools
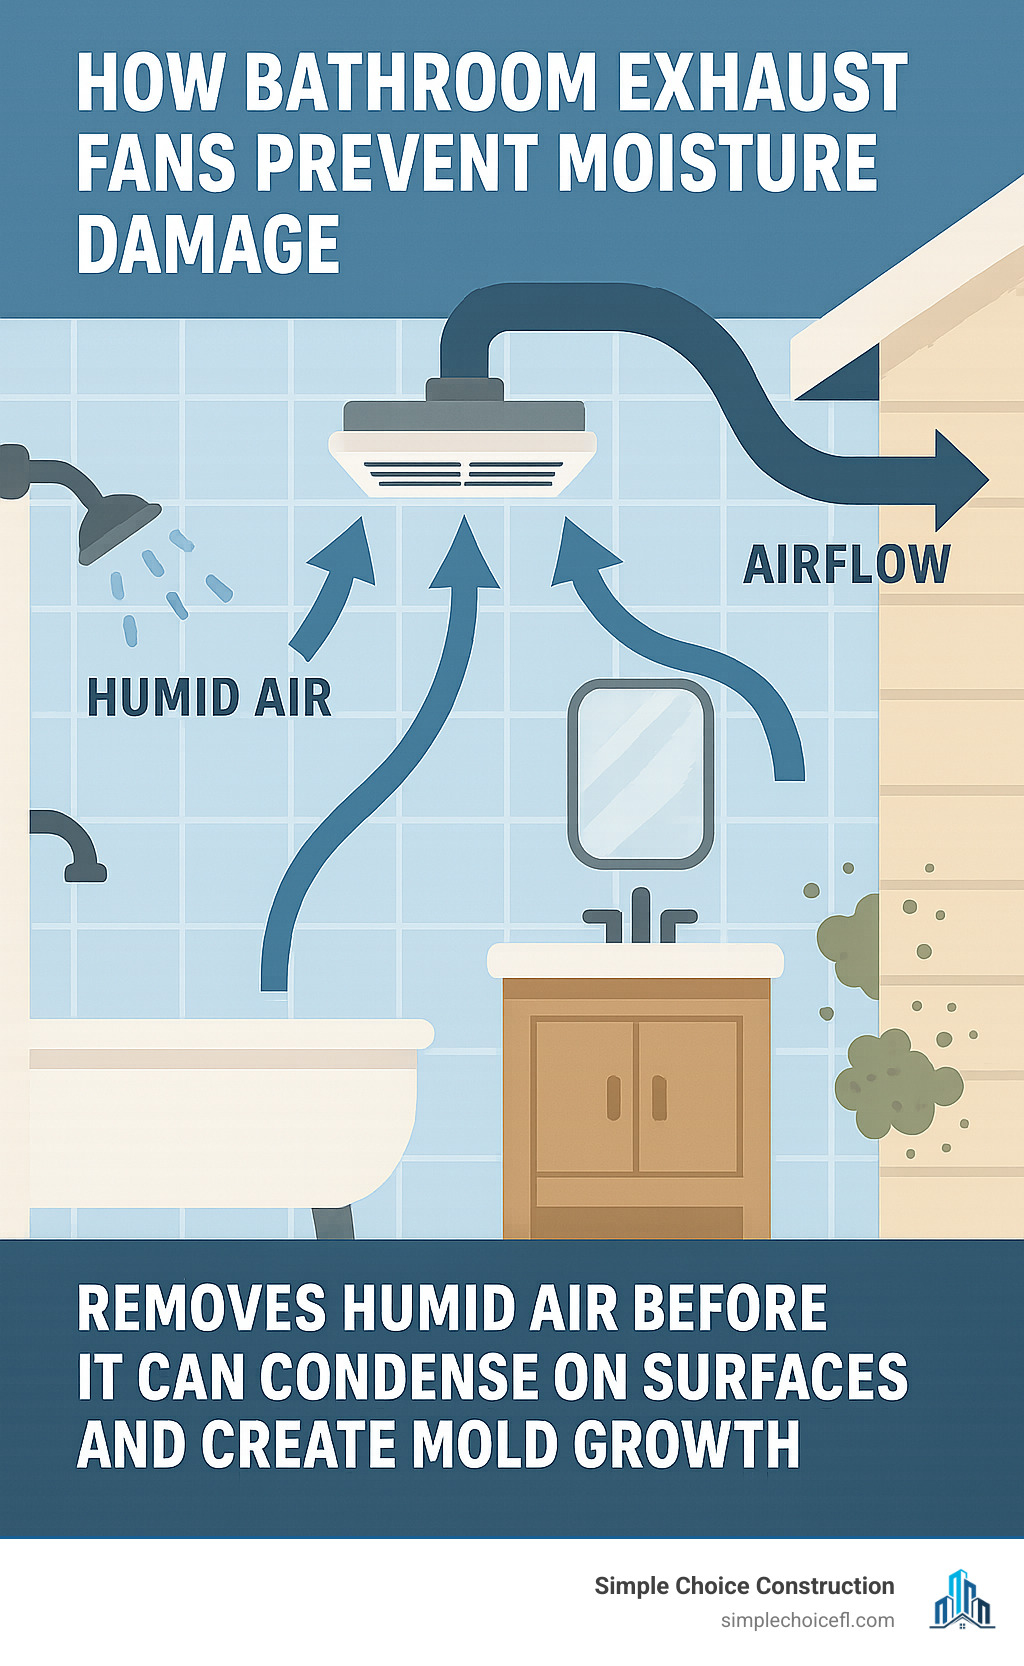
Before we dive into the nitty-gritty of bathroom exhaust fan installation, it’s crucial to understand why this project is so vital, especially for homeowners in South Florida. Bathrooms are naturally high-humidity environments, and without proper ventilation, that moisture lingers. In a place like Broward County, where ambient humidity is already high, this problem is magnified. We’re talking about more than just foggy mirrors; persistent moisture creates the perfect breeding ground for mold and mildew. These fungi are not only unsightly but can also be a serious health hazard, triggering allergies and potentially causing respiratory problems. Beyond the health concerns, trapped moisture can wreak havoc on your home’s structure and finishes. It can cause paint to peel, wallpaper to bubble, and lead to the warping and delaminating of your cabinets and drywall. By installing a high-quality bathroom fan, we create active air circulation, ensuring the humid air is promptly exhausted outside, keeping the room dry, healthy, and preventing mold from ever getting a chance to form.
Key Factors: CFM and Sones Explained
When choosing a bathroom exhaust fan, two critical specifications will guide our decision: CFM and Sones. Getting these right is the foundation of a successful installation.
Cubic Feet per Minute (CFM): This measures the volume of air the fan can move in one minute. It’s a direct indicator of the fan’s power and its ability to ventilate your space. To ensure your fan can handle the job, its CFM rating must be appropriate for your bathroom’s size. An undersized fan will struggle to clear steam, defeating the purpose of the installation, while a grossly oversized fan can be noisy and waste energy.
- The Standard Calculation: A reliable rule of thumb is to provide 1 CFM for every square foot of floor space. For bathrooms up to 100 square feet, this is often sufficient. For example, an 8′ x 10′ bathroom (80 sq ft) would require an 80 CFM fan. Many experts recommend adding a small buffer, suggesting you multiply the square footage by 1.1. So for our 80 sq ft bathroom, that would be 80 x 1.1 = 88 CFM. A 90 CFM fan would be an excellent choice.
- For Larger Bathrooms: For bathrooms larger than 100 square feet or those with ceilings higher than 8 feet, a more precise calculation is needed. Calculate the room’s total volume in cubic feet (Length x Width x Height), then divide by 7.5. This determines the CFM needed to achieve 8 complete air exchanges per hour, the recommended rate for bathrooms. For example, a 10′ x 12′ bathroom with a 9′ ceiling has a volume of 1080 cubic feet. 1080 / 7.5 = 144 CFM. In this case, a 150 CFM fan would be the right choice.
- Here’s a calculator to find the right CFM
Sone Noise Levels: This rating indicates how loud the fan will be when it’s operating. Unlike decibels, sones are a linear measurement of perceived loudness—2 sones sound twice as loud as 1 sone. A quiet fan is crucial for a peaceful, spa-like bathroom environment. More importantly, if a fan is loud and obnoxious, you’ll be less likely to use it, negating all its benefits.
- Understanding the Numbers: A modern refrigerator operates at about 1.0 sone. We strongly recommend looking for fans with a sone rating between 0.3 and 1.0 for whisper-quiet operation. Fans rated at 2.0 sones are noticeable but generally not intrusive. Anything rated 4.0 sones or higher will be quite loud and is typically found in older or very inexpensive models. Investing a little more in a low-sone fan is one of the best decisions you can make for long-term satisfaction.
Beyond the Basics: Fan Types and Features
Today’s exhaust fans come with a variety of features that can improve comfort, convenience, and energy efficiency.
- Fan/Light Combos: Many models incorporate a primary light source, which is perfect for smaller bathrooms or for positioning directly over a shower (ensure it’s GFCI-protected and rated for wet locations). Some even include a separate, low-wattage nightlight feature.
- Heater Units: A fan with a built-in heater can make your bathroom much more comfortable on chilly mornings. These units use a heating element and a separate blower to quickly warm up the space.
- Humidity Sensors: This is a game-changing feature for ensuring proper ventilation. A fan with a humidity sensor will automatically turn on when it detects a rise in humidity (like when you start the shower) and turn off after the moisture has been cleared. This “set it and forget it” functionality guarantees the fan runs when needed, protecting your bathroom even if you forget to turn it on.
- Motion Sensors: Some fans have motion sensors that activate the fan (or just the light) when someone enters the room and turn it off after a preset time of inactivity.
Venting Options
Proper venting is the most critical aspect of the installation. We must always vent the fan to the outdoors, never into an attic, crawlspace, or other enclosed area. Venting moist air into an attic is a recipe for disaster, creating an environment ripe for mold and mildew growth, which can lead to rotted roof decking and significant structural damage.
There are three primary options for venting your bathroom exhaust fan to the exterior. The best choice for your home will depend on your bathroom’s location and your home’s construction.
| Venting Option | Pros | Cons | Best For |
|---|---|---|---|
| Roof Vent | Most direct and shortest path for second-floor or single-story bathrooms. Vertical venting uses natural convection to help exhaust air. | Requires cutting a hole in the roof, which carries a risk of leaks if not sealed properly. Can be difficult and dangerous to install without roofing experience. | Bathrooms on the top floor or in single-story homes where the fan is located far from an exterior wall. |
| Wall Vent | Relatively easy to install, especially for bathrooms on an exterior wall. Avoids the need for any roofing work. | Duct runs may be longer and require more bends, which can reduce airflow efficiency. The exterior vent cap can be less aesthetically pleasing to some. | Bathrooms located on an exterior wall. A good option for first-floor bathrooms in a two-story home. |
| Soffit Vent | Keeps the roof and walls intact. The vent is hidden under the eaves, making it aesthetically discreet. | Caution: Must use a proper soffit vent cap designed for exhaust, not an intake vent. Exhausting too close to a soffit intake vent can cycle humid air right back into the attic. Duct runs can be long. | Bathrooms where a roof or wall vent is not practical. Requires careful placement to avoid interference with attic intake vents. |
Tools and Materials Checklist
Having all your tools and materials ready before you start will make the installation process much smoother and safer.
Essential Tools:
- Drill with various bits
- Jigsaw or Drywall Saw
- Tape Measure
- Sturdy Ladder or Step Stool
- Safety Goggles and Dust Mask
- Wire Strippers/Cutters
- Voltage Tester
- Caulking Gun
- Stud Finder
- Pliers (Needle-nose and Lineman’s)
- Utility Knife
Required Materials:
- New Exhaust Fan Unit (with installation hardware and template)
- Insulated Flexible Duct (4-inch or 6-inch diameter, to match fan outlet)
- Exterior Vent Cap (Roof, Wall, or Soffit style)
- UL-Listed Foil Duct Tape (do not use standard cloth duct tape)
- Drywall Screws or Mounting Screws
- Exterior-grade Silicone Caulk or Roofing Sealant
- Electrical Wire (Romex, matching your circuit’s gauge)
- Wire Nuts


